Follow Me On Social Media!


Pizookie Paradise: Indulgent Dessert to Share and Savor
Introduction to Pizookie
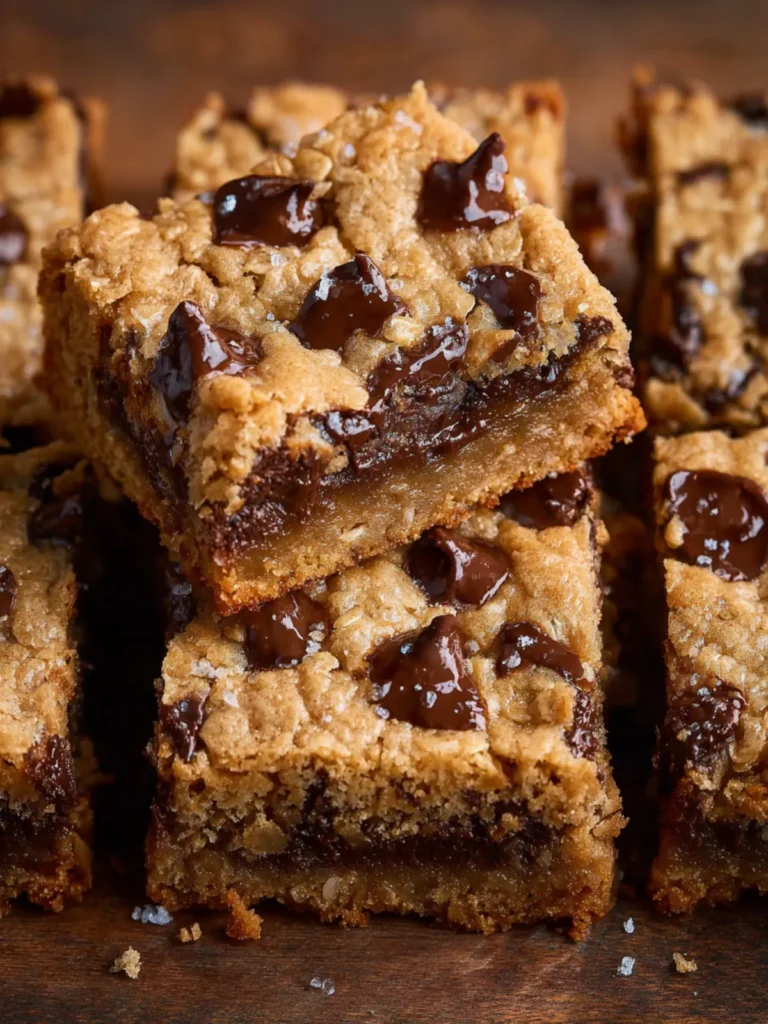
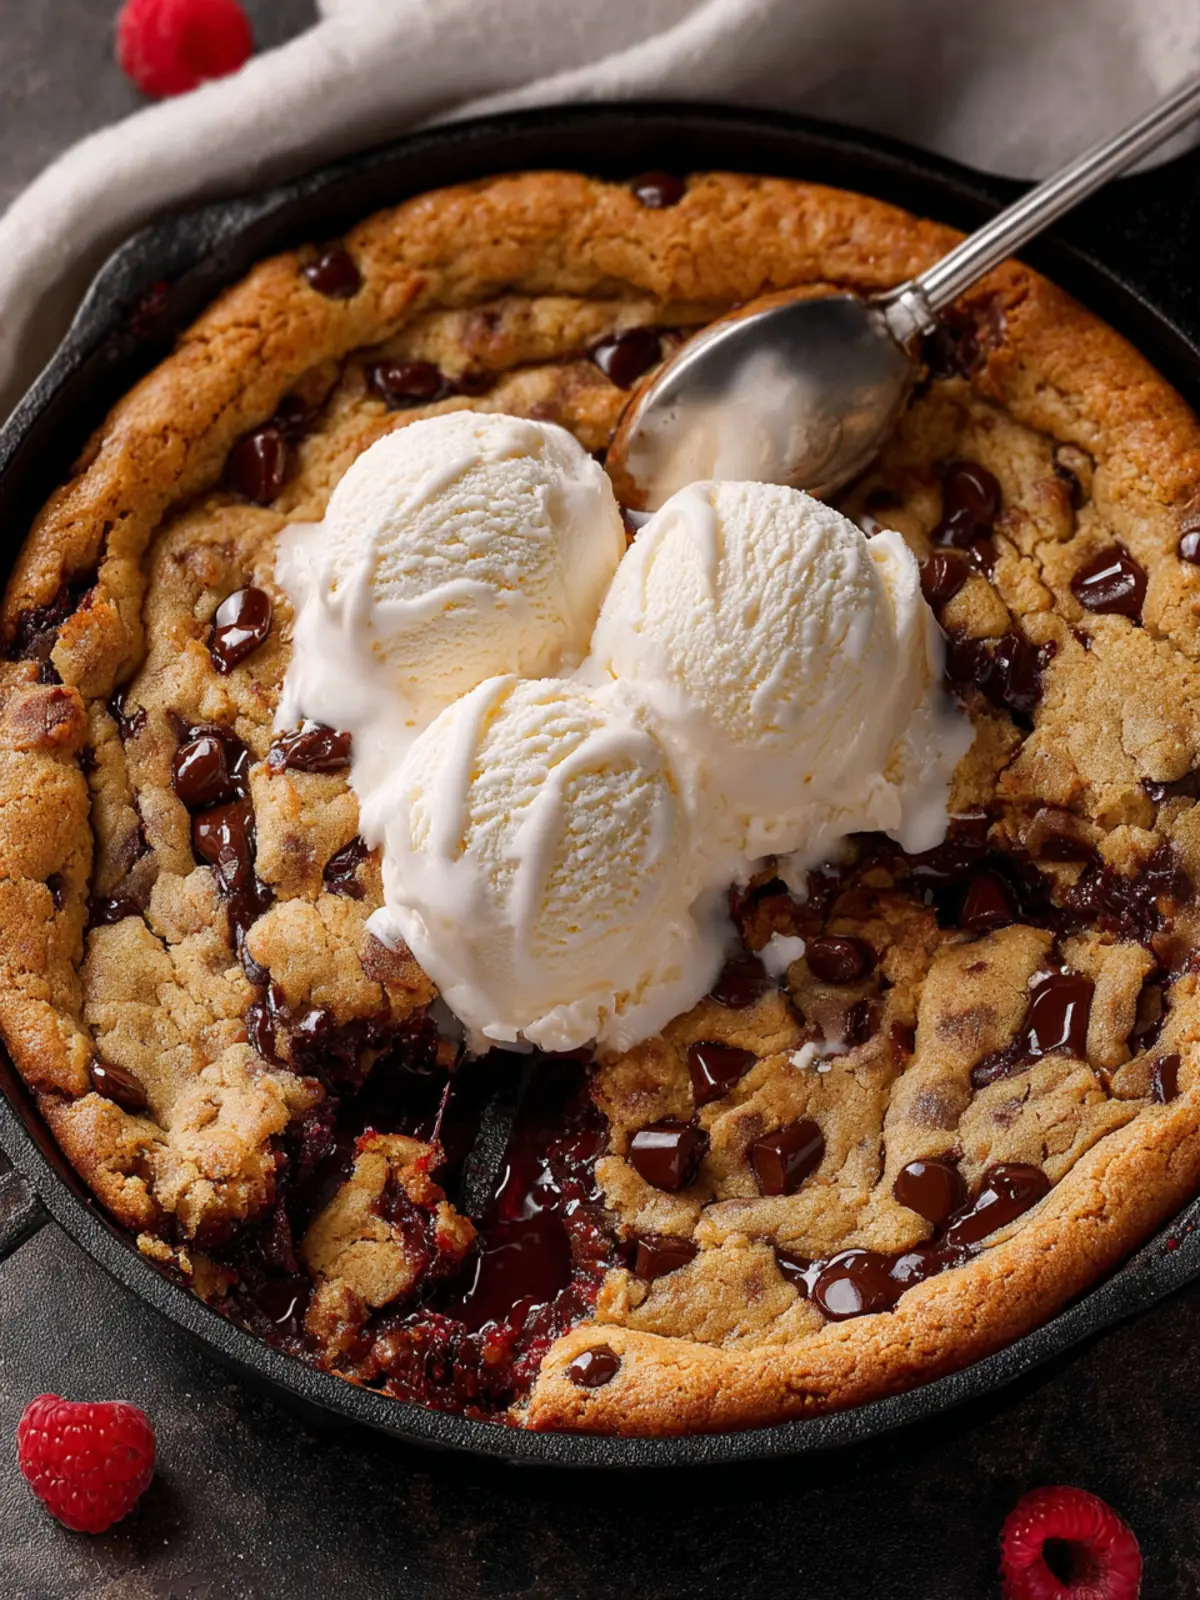
Imagine sinking your spoon into a warm, gooey treat that feels like a hug in dessert form—this is the magic of pizookie. This delightful fusion of pizza and cookie is not just a dessert; it’s a captivating experience that brings friends and family together. You can’t help but smile as you watch molten chocolate oozing from perfectly baked edges, served right from the oven into a skillet. Whether it’s a casual weeknight or a special celebration, a pizookie is guaranteed to elevate the mood.
What makes the pizookie a crowd favorite? For starters, it boasts all the elements we love in comfort food: it’s indulgently rich, customizable with a variety of toppings, and serves beautifully as a shareable dessert. The crispy edges combined with the soft, warm center create that ideal textural contrast, leaving everyone wanting more. Plus, there’s something undeniably charming about enjoying a dessert straight out of the oven, with a scoop of ice cream melting right on top. It’s a sensory experience that appeals to our inner child while satisfying our adult cravings.
Moreover, the pizookie offers an element of excitement; it invites everyone to partake in the fun. Imagine a gathering where each person has their own serving, topped with their choice of ice cream and drizzled with caramel or chocolate sauce. This not only creates a festive atmosphere but also encourages conversation and laughter, making it much more than just a dessert.
So whether you’re looking for a quick weeknight dessert or planning a fun gathering, the pizookie is a perfect solution. As we dive deeper into this delicious recipe, you’ll discover how to create your own version of this beloved dessert that’s sure to impress your friends and family alike. Let’s get started on making this unforgettable treat!
Key Ingredients for Pizookie
Creating a delicious pizookie involves selecting the right ingredients that come together to create a warm, gooey dessert. The experience is all about indulging in a soft, cookie-like base topped with your favorite ice cream.
-
Flour: All-purpose flour is my go-to for a dough that balances structure and chewiness. It helps hold everything together while ensuring that you get that perfect mouthfeel.
-
Butter: Using unsalted butter not only elevates the flavor, but it also keeps the cookie dough rich and decadent. When melted and mixed with sugars, it creates a crispy exterior with a soft center.
-
Sugars: A mix of brown sugar and granulated sugar is essential. The brown sugar adds a lovely caramel undertone, while granulated sugar contributes to the delightful crunch on the outside of your pizookie.
-
Eggs: Using one egg gives the dough the ideal thickness and chewiness. It binds all the ingredients together and helps create that perfect texture.
-
Chocolate Chips: Semi-sweet chocolate chips are a must for that classic cookie flavor. Feel free to mix in other types like milk or dark chocolate, depending on your craving.
-
Baking Soda: This leavening agent ensures your pizookie rises beautifully in the oven, making it fluffy yet dense.
With these ingredients, you’re well on your way to indulging in a delightful pizookie experience that’s perfect for any occasion!
Why You’ll Love This Recipe
The magic of homemade pizookie awaits!
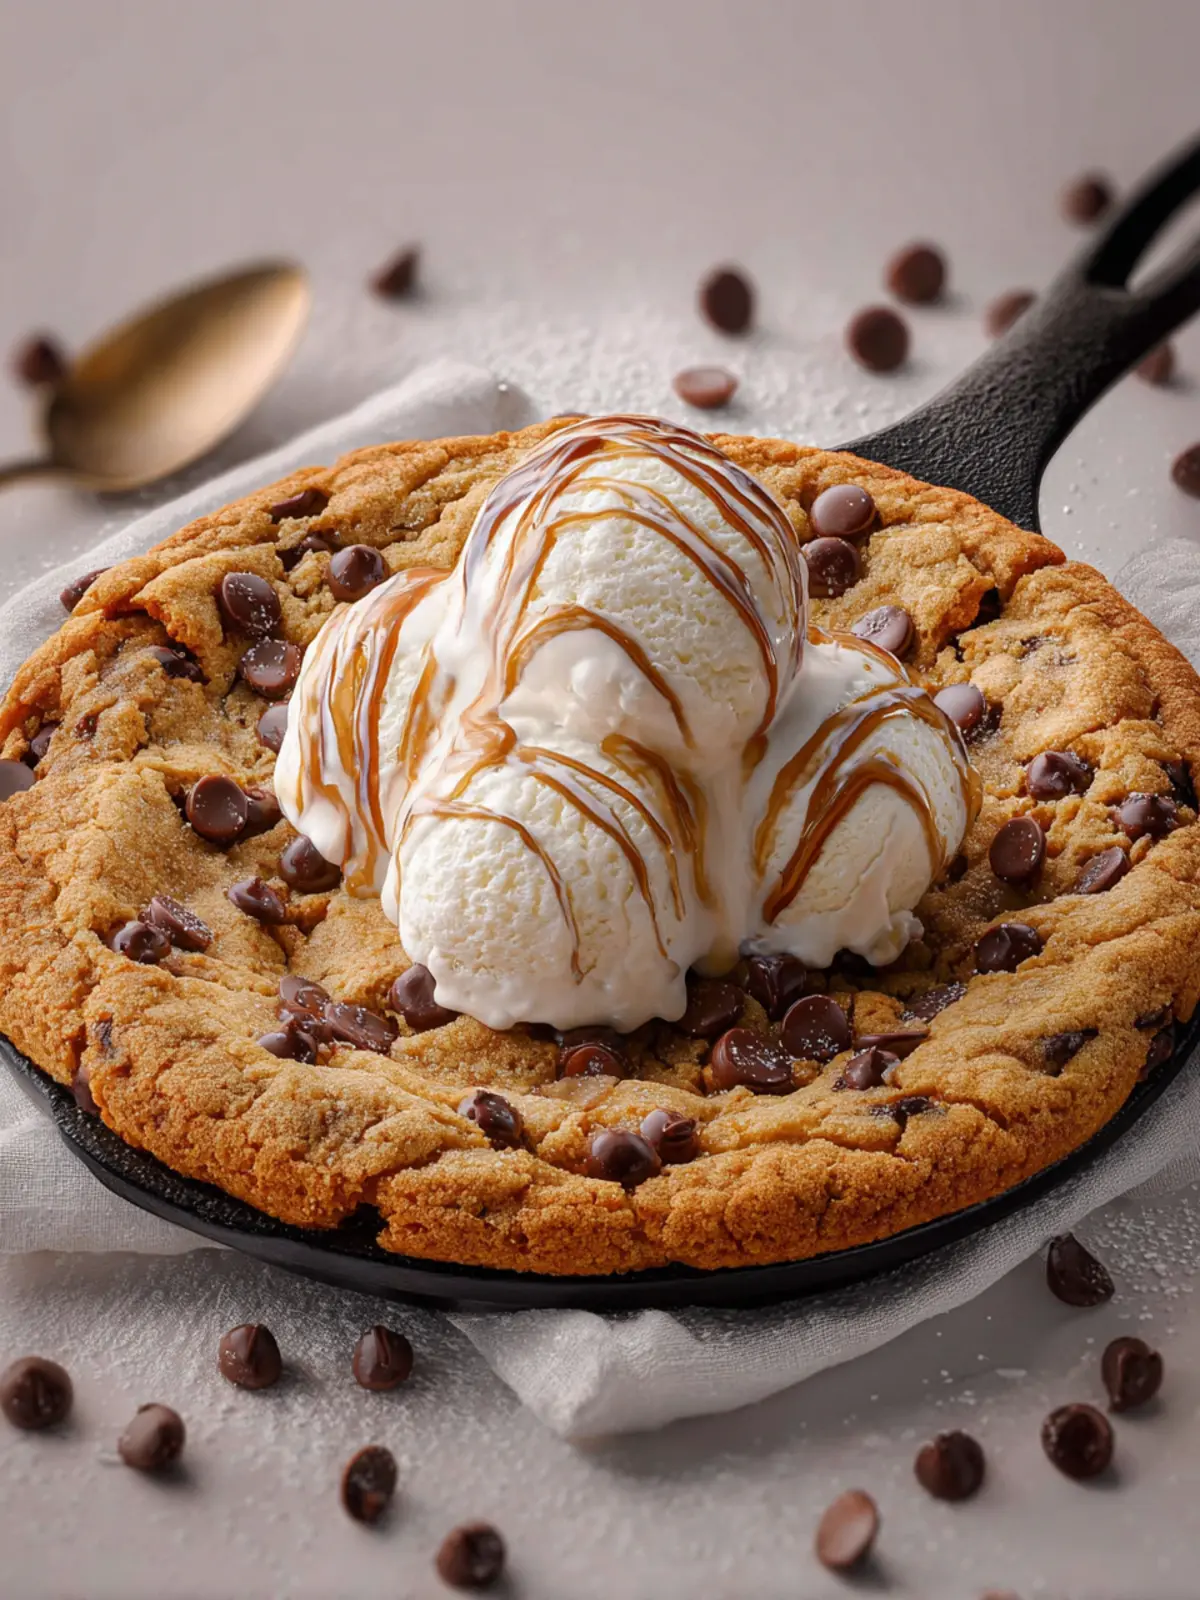
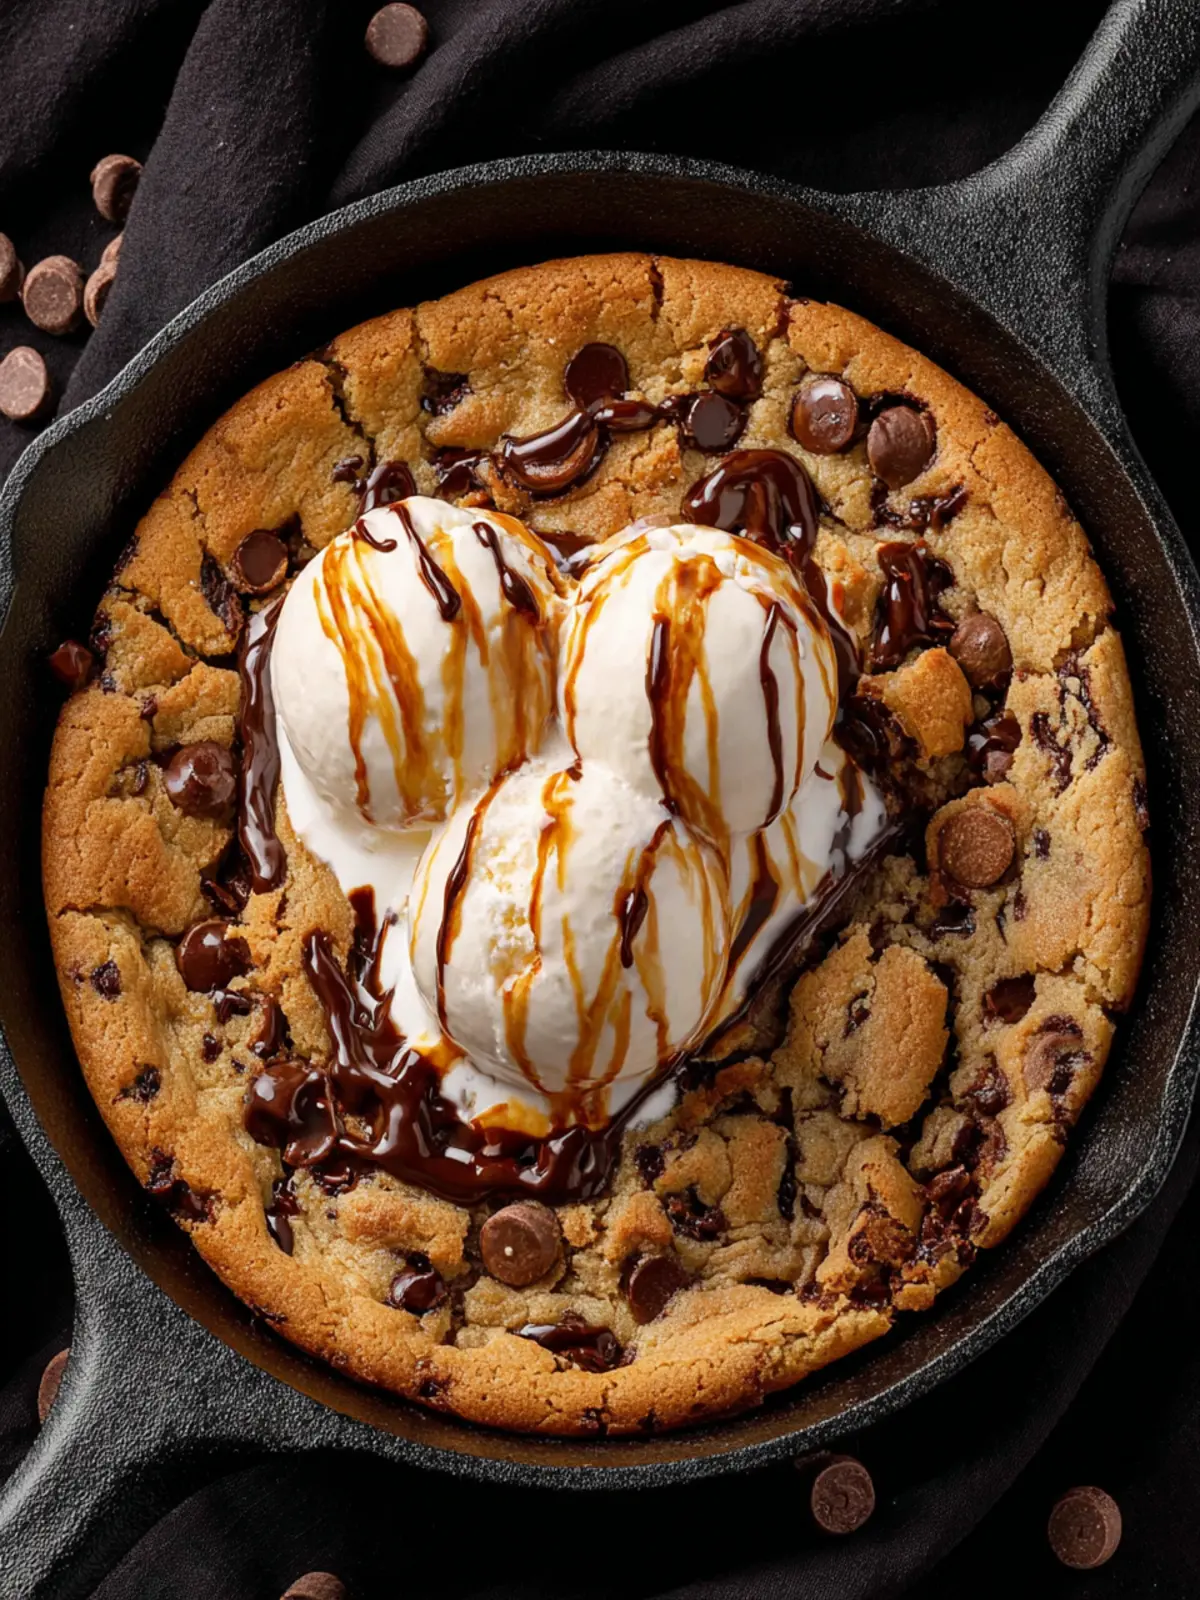
Imagine a warm, gooey pizookie fresh out of the oven—its edges slightly crisp while the center remains soft and deliciously molten. This transition from a traditional cookie to a delightful dessert is nothing short of enchanting. What’s not to love about the duality of a cookie and a brownie, all served in a skillet? It’s perfect for sharing (or not!) and can be customized with your favorite flavors, making it a hit at any gathering.
What makes this recipe even more special is the aroma wafting through your kitchen as it bakes; it’s nostalgia wrapped in sweetness. Plus, you have the added joy of serving it warm with a generous scoop of vanilla ice cream on top, the way comfort food should be enjoyed.
You can also tweak the ingredients to match your dietary preferences—think gluten-free flour or dairy-free ice cream. This versatility ensures everyone gets to experience the pure joy of a pizookie.
Whether you’re winding down after a long day or celebrating a special occasion, this recipe is your secret weapon to sweet satisfaction. The magic of homemade pizookie awaits, ready to impress even the toughest dessert critics!
Variations of Pizookie
The delightful pizookie has captured the hearts of dessert enthusiasts everywhere. But why stop at the classic chocolate chip flavor? Let’s explore some creative spins to make it your own!
Creative spins to make it your own!
-
Nutty Delights: Add a handful of crushed nuts like walnuts or pecans to the batter before baking. Not only do they give your pizookie a delightful crunch, but they also add a layer of flavor that complements the sweetness beautifully.
-
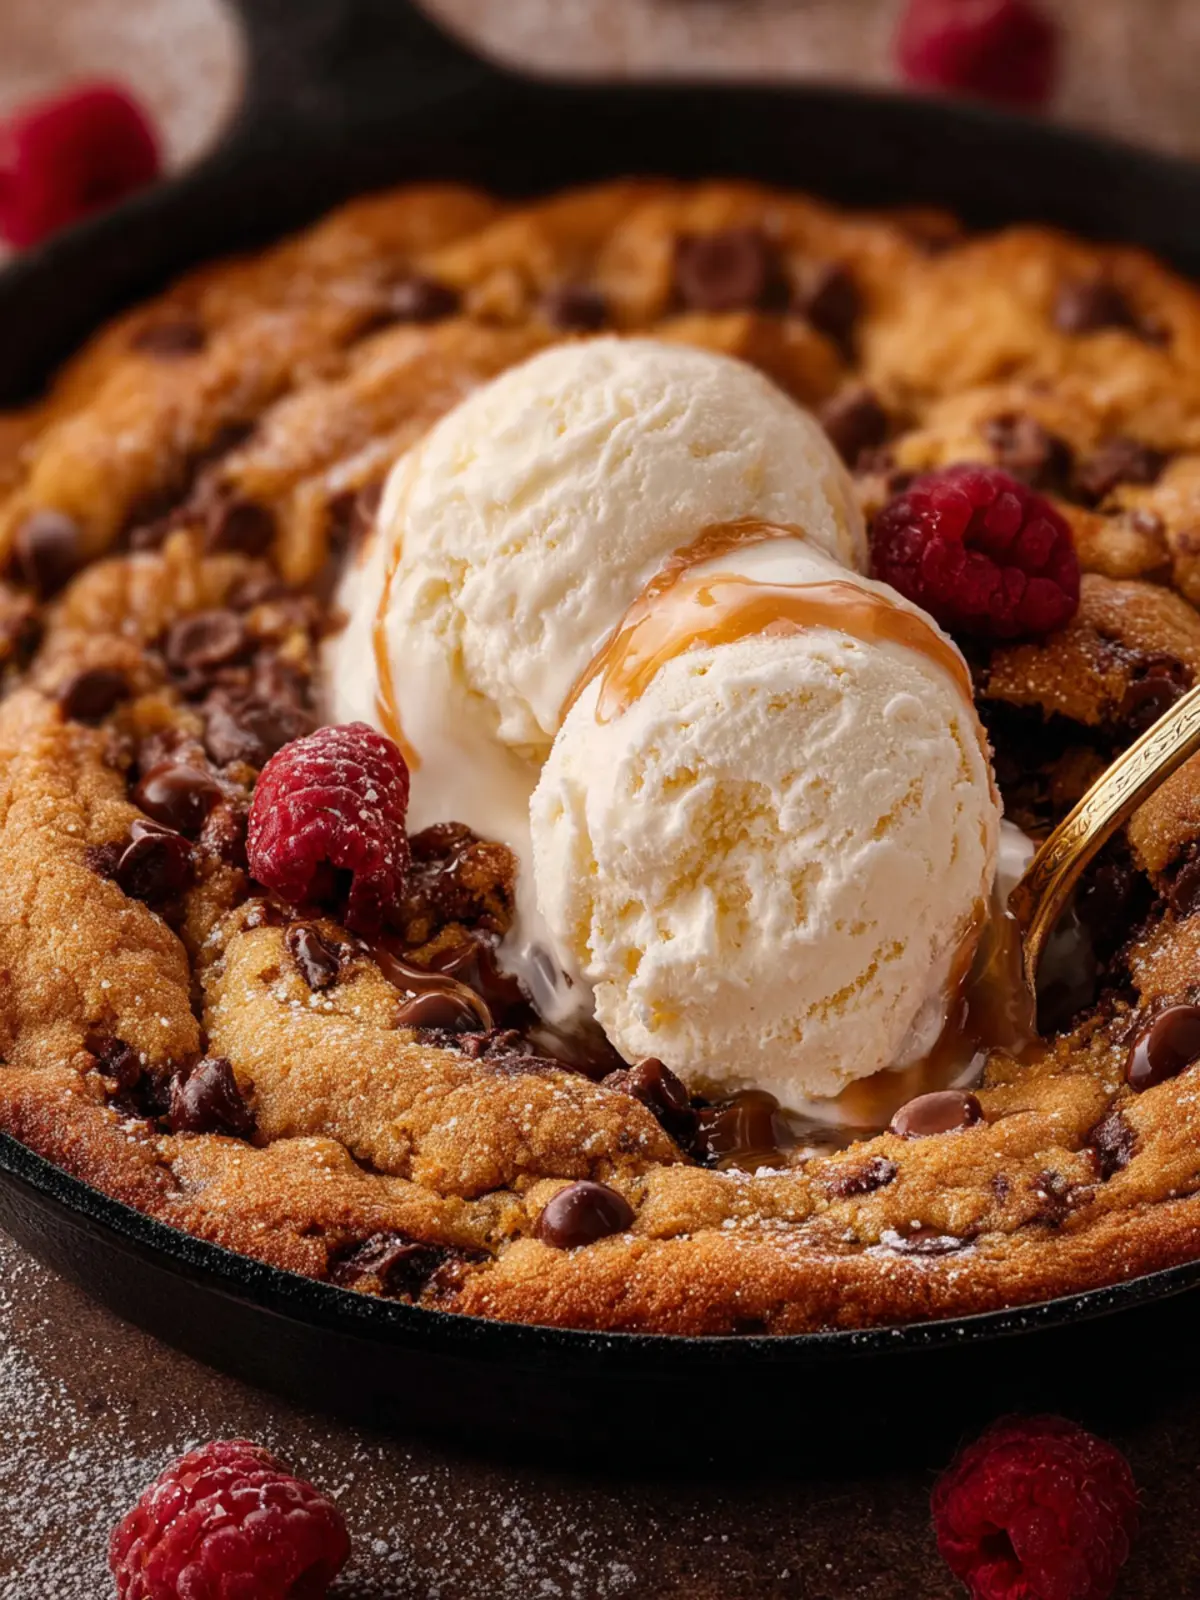
Fruity Twists: Try mixing in fresh or frozen fruits such as raspberries or even a swirl of peanut butter and banana. The juicy bursts of fruit create a unique contrast against the gooey cookie base.
-
Decadent Drizzles: Elevate your pizookie with a drizzle of caramel or chocolate sauce right before serving. This added layer of richness will make your dessert even more indulgent.
-
Ice Cream Inspirations: Experiment with different ice cream flavors as a topping. Think beyond vanilla—salted caramel and cookies and cream create a delightful fusion with your warm pizookie.
Get creative and don’t be afraid to experiment; after all, the beauty of a pizookie lies in its versatility!
Cooking Tips and Notes for Pizookie
Making a pizookie is not just about mixing ingredients; it’s an experience that combines the joy of baking with the anticipation of indulging in a warm, gooey dessert right out of the oven. To ensure your homemade pizookie stands out, here are some expert tips for the perfect bake!
Expert advice for the perfect bake!
-
Use quality ingredients: The flavor of your pizookie hinges on the quality of your chocolate and vanilla. Opt for pure vanilla extract and high-percentage dark chocolate for a richer taste.
-
Chill the dough: If you have the patience, chilling your cookie dough for at least 30 minutes can enhance flavors and alter the texture, leading to a more desirable chew.
-
Don’t overbake: Keep a close eye on your pizookie while it bakes. You want the edges to be set, but the center should still be slightly underbaked. This will create the perfect gooey center that defines a great pizookie.
-
Experiment with toppings: A scoop of ice cream is a classic choice, but think outside the box—such as whipped cream, fresh berries, or a drizzle of caramel sauce for an added twist.
With these tips, your pizookie will be a delicious crowd-pleaser, perfect for sharing (or not)! Enjoy your baking adventure!
Serving Suggestions for Pizookie
When you whip up a warm, gooey pizookie, you’re not just baking a dessert; you’re creating an experience that’s perfect for sharing with friends or enjoying solo. This decadent dish is versatile enough to pair with a range of toppings, transforming it into a spotlight dessert at any gathering.
How to elevate your dessert experience!
-
Ice Cream: A classic choice, but have you tried mixing flavors? Opt for vanilla bean paired with a chocolate chip pizookie, or go wild with a scoop of salted caramel atop a peanut butter pizookie for a sweet and salty symphony.
-
Drizzles and Sauces: A drizzle of warm chocolate or caramel sauce can take your pizookie to the next level. For a refreshing twist, a sprinkle of fresh fruit like strawberries or raspberries adds brightness and texture.
-
Nuts and Whipped Cream: Sprinkle some chopped nuts, like pecans or walnuts, to add a delightful crunch. Top it off with a dollop of freshly whipped cream for that luxurious feel.
Transform your pizookie into a show-stopping dessert that will have everyone asking for seconds!
Time Breakdown for Pizookie
Creating a delicious pizookie is not just about the end result; it’s about embracing the entire baking experience. The delightful aroma that fills your kitchen while it bakes is worth every minute spent. Here’s a simple breakdown to help you plan your baking session efficiently.
Preparation time
You’ll need about 15 minutes to gather your ingredients, mix the batter, and assemble everything into the baking dish.
Baking time
Once you pop it in the oven, just 20 minutes will transform your dough into a warm, gooey dessert masterpiece.
Total time
From start to finish, you’re looking at approximately 35 minutes until that irresistible pizookie is ready to devour. Enjoy every moment, and don’t forget to serve it warm with a scoop of ice cream!
Nutritional Facts for Pizookie
Discovering the pizookie is like finding a hidden gem in the world of desserts. This indulgent treat, merging cookie and pizza, delivers a delightful experience for anyone with a sweet tooth. When you’re treating yourself (or your friends), it’s essential to know what you’re really enjoying. Here’s a quick glance at the nutritional facts so you can savor every bite with some clarity.
Calories
A single serving of pizookie can average around 500 to 600 calories, depending on your toppings and portion size. While it’s a dessert to enjoy in moderation, it’s certainly a worth-it indulgence for any dessert lover.
Protein
One serving typically provides about 6 to 8 grams of protein, thanks to the flour and any added ice cream on top. This little boost may help satisfy some of your cravings while still being delicious!
Sugars
Expect around 30 grams of sugar in each serving. The combination of sugars from both the cookie base and any ice cream or toppings contributes to that rich sweetness that makes pizookie so irresistible.
Enjoy your pizookie with an understanding of its delightful, yet rich, nutritional makeup!
FAQs about Pizookie
When you dive into the delightful world of pizookie, you encounter a dessert that’s equal parts cookie and pizza, bringing comfort and joy with every bite. As you embark on making this warm, gooey treat, you might have a few questions swirling in your mind. Let’s tackle some common queries about pizookie to make your dessert experience even sweeter!
How should I store any leftover pizookie?
If you’re lucky enough to have leftovers, the best way to store your pizookie is to let it cool completely and then cover it tightly with plastic wrap or transfer it to an airtight container. It can be stored at room temperature for up to two days. If you want to keep it longer, consider refrigerating it, where it will last for about a week. Just remember to reheat individual portions in the microwave for about 10 seconds to regain that melty goodness!
Can I make a pizookie without chocolate chips?
Absolutely! While traditional pizookie recipes often feature chocolate chips, you can customize your dessert to suit your tastes. Substitute with nuts, dried fruit, or even colorful sprinkles for a fun twist. The base cookie batter remains the same, so feel free to explore and make it your own.
What can I serve with my pizookie?
Serving your pizookie is an opportunity for creativity! A scoop of vanilla ice cream is a classic pairing, adding a luscious creaminess that contrasts beautifully with the warm, gooey cookie. Drizzle some chocolate or caramel sauce over it for extra indulgence, or serve it with whipped cream and fresh berries for a lighter touch. Enjoy experimenting with your favorite toppings!
Conclusion on Pizookie
Why you need to make this dessert today!
Indulging in a pizookie is more than just satisfying your sweet tooth; it’s about creating memories. There’s something incredibly inviting about a warm, fresh-baked cookie straight from the oven, topped with ice cream that melts and mingles with a gooey center. Imagine sharing this delightful dessert with friends or a significant other, maybe on a cozy movie night or during a casual gathering.
Don’t wait! Treat yourself today to this delicious experience—because everyone deserves a little sweetness in their life, and what better way than in the form of a mouthwatering pizookie? Grab your ingredients, fire up the oven, and let the dessert magic unfold!
Print
Chocolate Chip Skillet Cookie
- Total Time: 40 minutes
- Yield: 8 servings 1x
- Diet: Vegetarian
Description
A delicious chocolate chip cookie baked in a skillet for a chewy and gooey treat.
Ingredients
Scale
- 2 ¼ cups (280 g) all-purpose flour (spooned & leveled)
- 1 teaspoon baking soda
- 2 teaspoons cornstarch
- ½ teaspoon salt
- ¾ cup (1 ½ sticks, 170 g) unsalted butter, melted and slightly cooled
- ¾ cup (150 g) packed light brown sugar
- ½ cup (100 g) granulated sugar
- 1 large egg, at room temperature
- 1 egg yolk, at room temperature
- 2 teaspoons pure vanilla extract
- 1 ½ cup (255 g) semi-sweet chocolate chips
Instructions
- Position a rack in the center of the oven. Preheat oven to 350°F (180°C). Grease a 10-inch cast iron skillet lightly with butter.
- In a large bowl, whisk the flour, baking soda, cornstarch, and salt together. Set aside.
- In a medium bowl, whisk the melted butter, brown sugar, and granulated sugar together until evenly combined.
- Whisk in the egg and egg yolk until evenly mixed in. Whisk in the vanilla extract until evenly incorporated.
- With a spatula or wooden spoon, stir in the dry ingredients and chocolate chips.
- Press cookie dough into an even layer into a 10-inch cast iron skillet.
- Bake for 23-25 minutes until edges are golden brown. Remove from the oven and serve immediately (with a scoop of ice cream is best!).
- For a slightly underdone cookie, bake on the smaller amount of time. The middle will continue to set as it cools.
Notes
- Allow to cool slightly before serving.
- This cookie is best enjoyed warm.
- Store leftovers in an airtight container at room temperature.
- Prep Time: 15 minutes
- Cook Time: 25 minutes
- Category: Dessert
- Method: Baking
- Cuisine: American
Nutrition
- Serving Size: 1 slice
- Calories: 350
- Sugar: 22g
- Sodium: 150mg
- Fat: 18g
- Saturated Fat: 11g
- Unsaturated Fat: 6g
- Trans Fat: 0g
- Carbohydrates: 42g
- Fiber: 1g
- Protein: 3g
- Cholesterol: 55mg