Follow Me On Social Media!


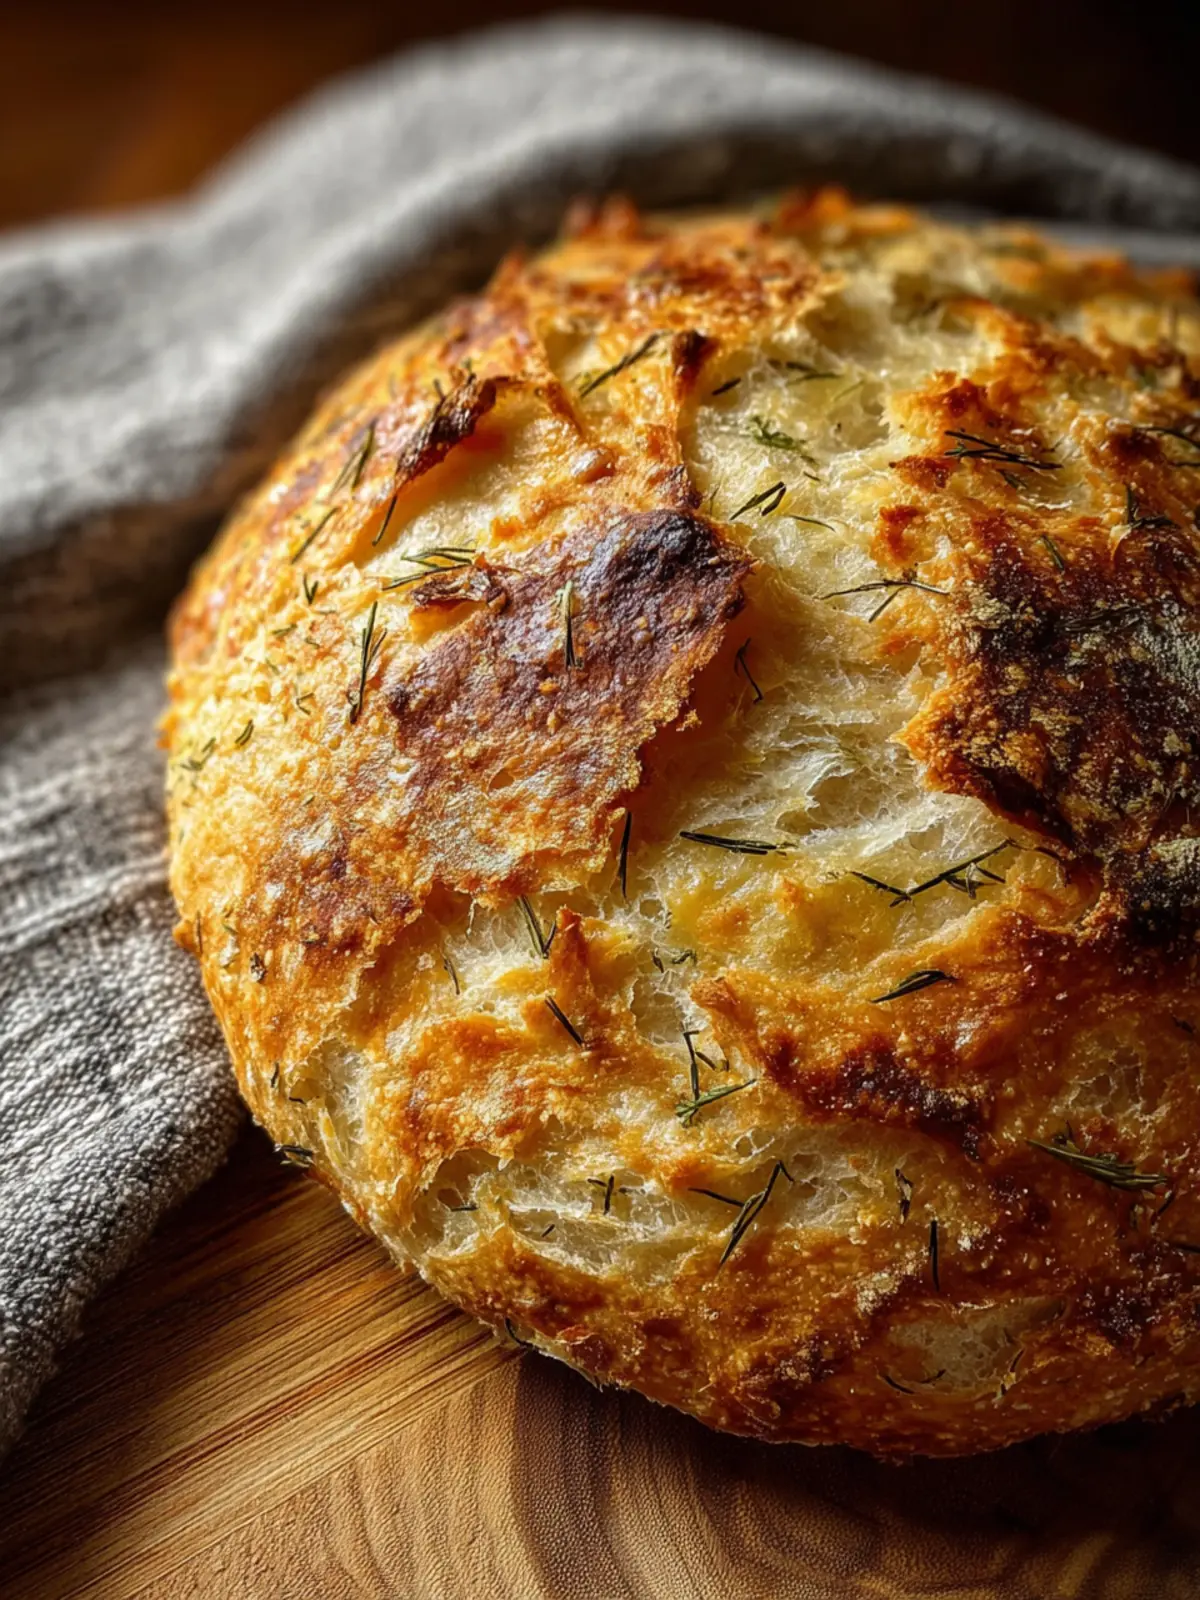
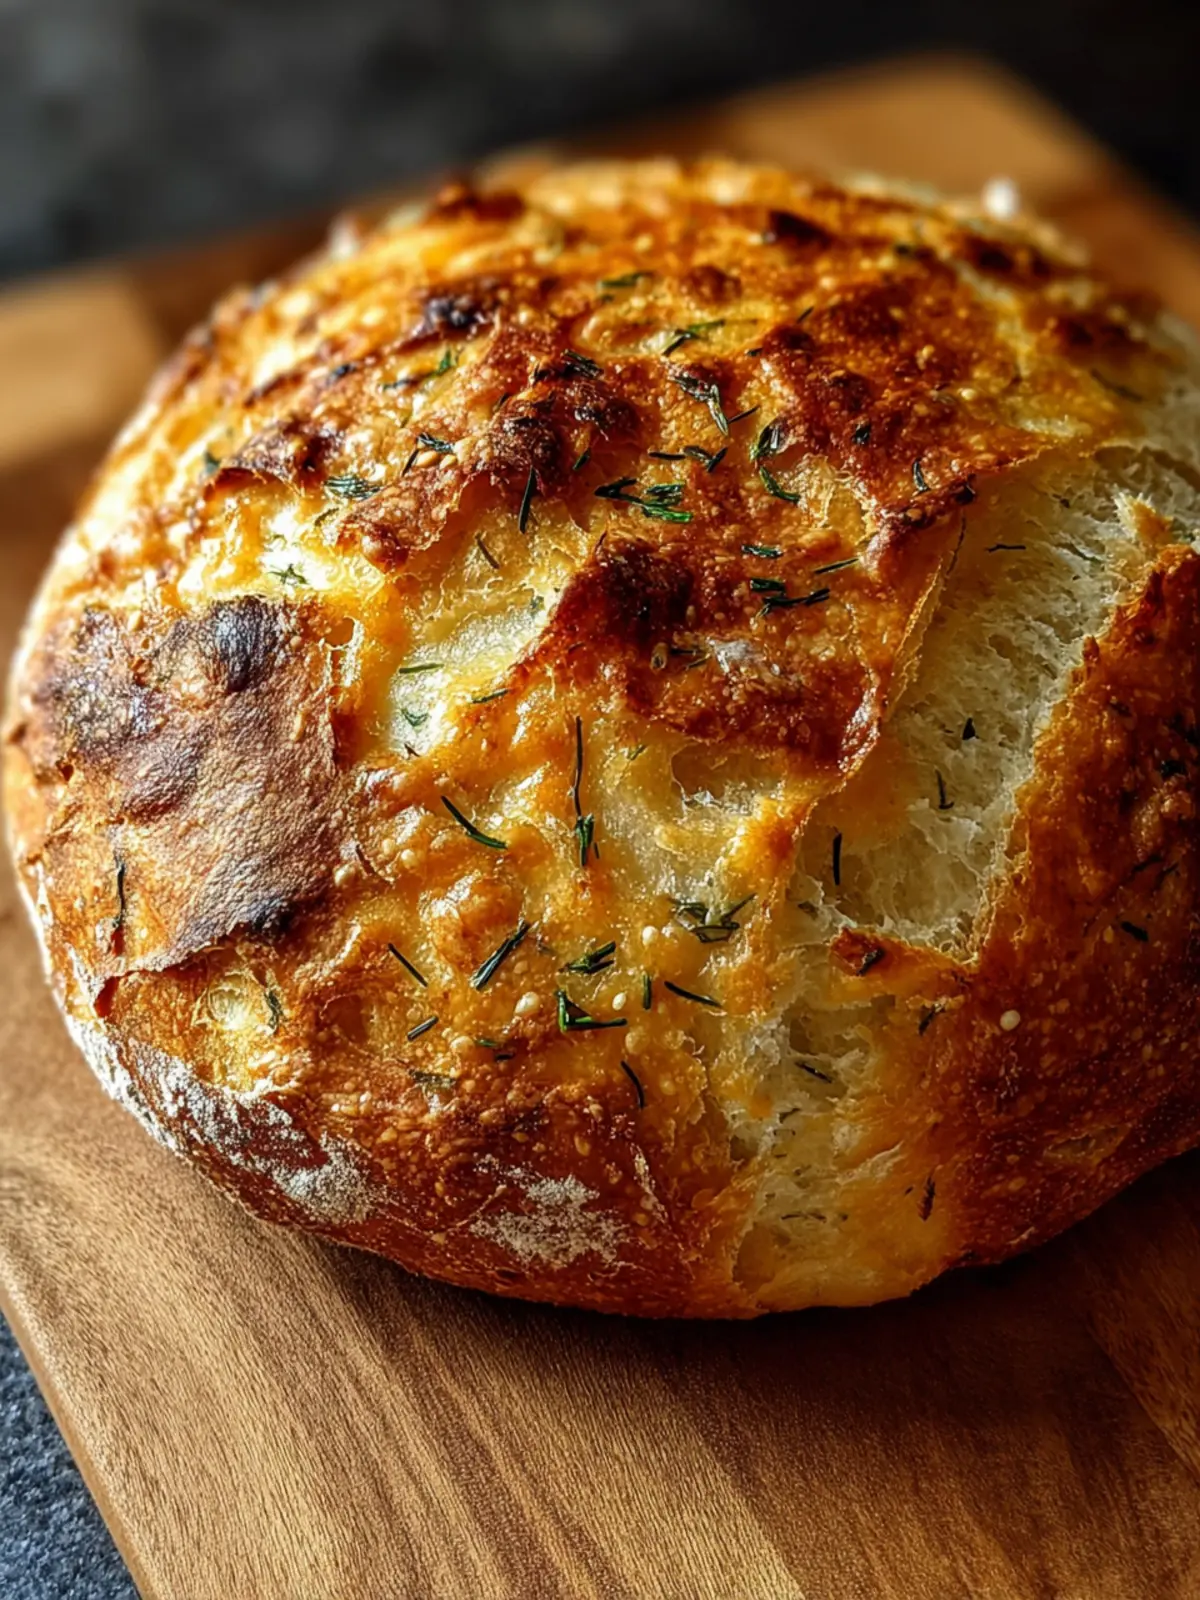
No-Knead Dill Gouda Artisan Bread Made Easy at Home
Introduction to No-Knead Dill Gouda Artisan Bread
Imagine walking into your kitchen and inhaling the delightful aroma of freshly baked bread, a warm crust forming on the outside while the inside stays soft and airy. This isn’t just any bread; we’re talking about No-Knead Dill Gouda Artisan Bread. This recipe invites you to experience the wonderful union of fragrant dill and the creamy richness of Gouda, all without the elbow grease of traditional kneading. It’s a perfect weekend project or a charming addition to a weekday meal that will elevate your table and impress your guests.
What sets No-Knead Dill Gouda Artisan Bread apart?
What really makes No-Knead Dill Gouda Artisan Bread stand out is the simplicity and ease of its preparation. With just a few basic ingredients and a little patience, you can create an artisan-quality loaf right in your home kitchen.
-
Minimal Hands-On Time: Unlike traditional bread-making methods that often require kneading for several minutes, this no-knead approach involves just combining the ingredients and letting time do the work for you. It’s the perfect recipe for those busy professionals who still crave homemade bread.
-
Flavor Explosion: The blend of fresh dill and Gouda cheese offers a unique take on a classic bread recipe. Dill gives a fresh, vibrant flavor, while Gouda introduces a pleasant richness that makes each bite utterly satisfying.
-
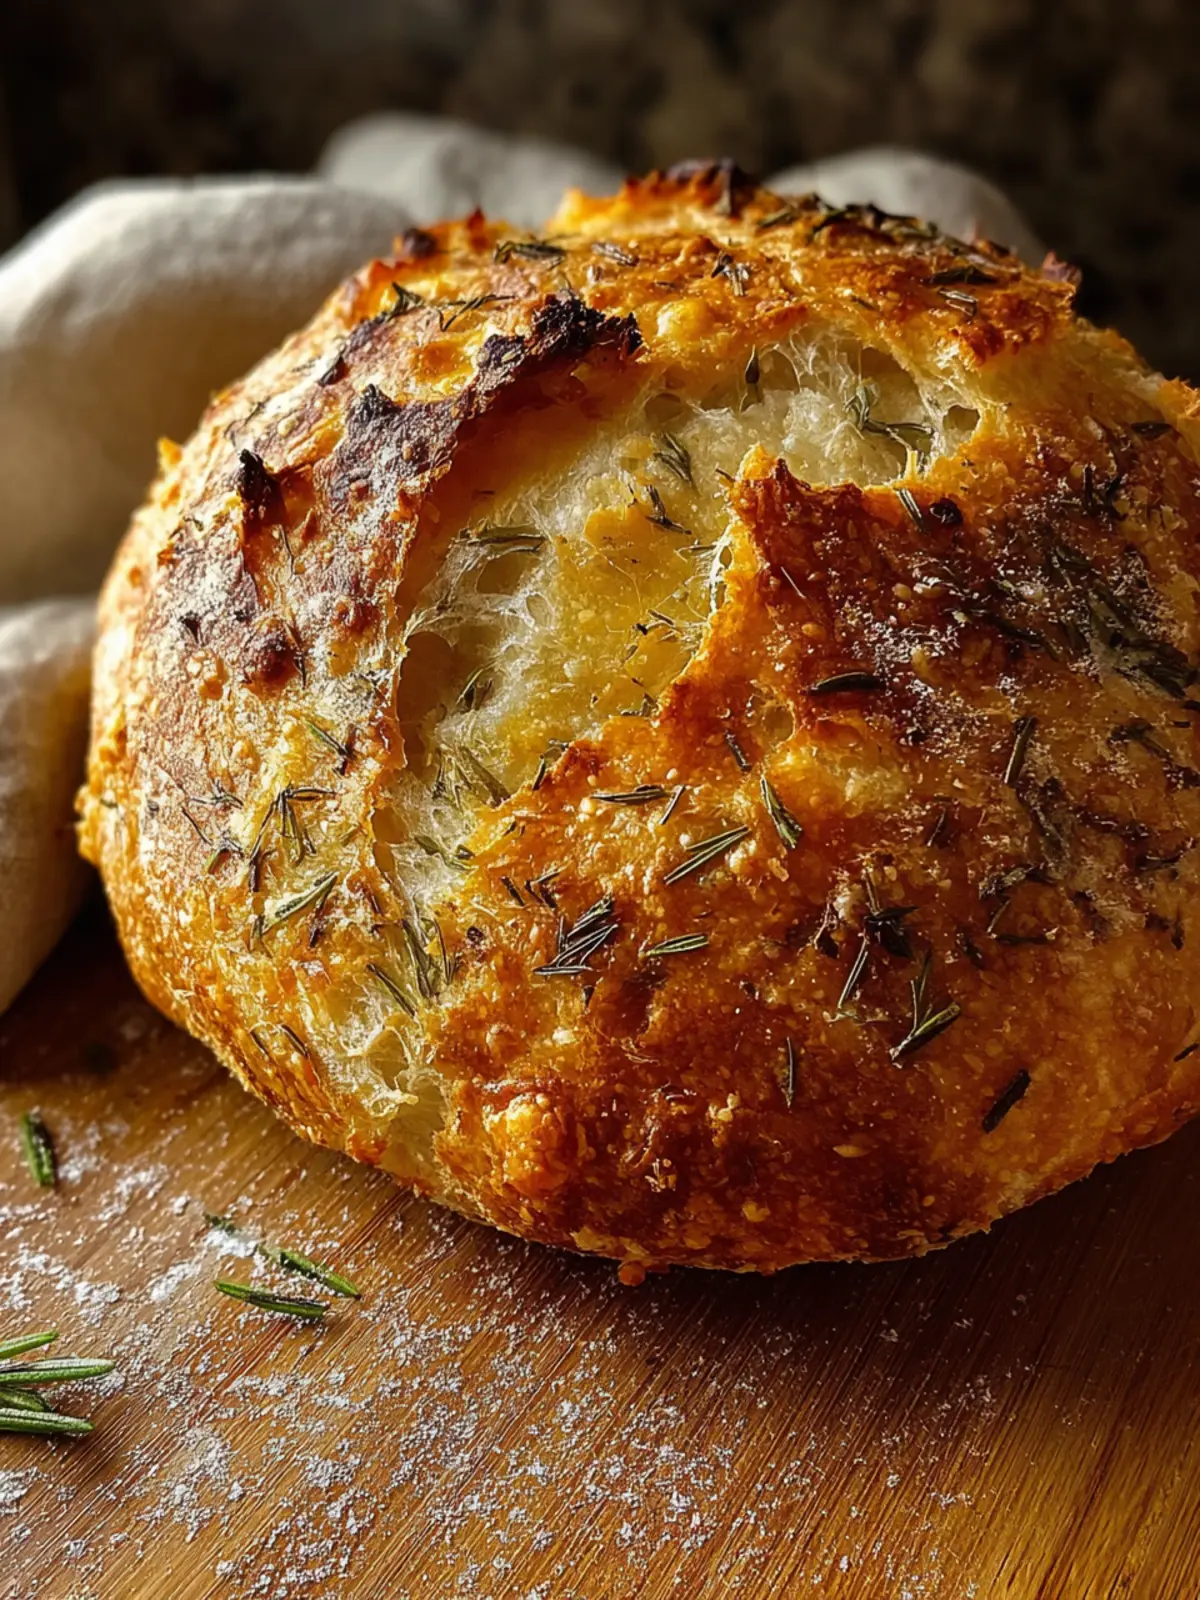
Artisan Texture: The long fermentation process involved in this recipe allows air bubbles to develop, resulting in a beautiful, airy crumb. Your bread will have that rustic, artisan look and feel that’s often only found in bakeries.
-
Versatile Use: Whether you enjoy it for breakfast, serve it at dinner, or use it as the base for sandwiches, this bread is incredibly versatile. Pair it with soups, salads, or simply enjoy it slathered with butter.
With No-Knead Dill Gouda Artisan Bread, you’re not just baking; you’re creating an experience that brings the warmth of your kitchen into the hearts and homes of everyone who gets a taste. Ready to get started? Let’s dive into the ingredients that will make this delightful bread rise to perfection!
Key Ingredients for No-Knead Dill Gouda Artisan Bread
No-Knead Dill Gouda Artisan Bread is a delightful creation that marries simplicity with delicious flavors, making it a must-try for both novice and seasoned bakers alike.
Water: The unsung hero in your baking process, room temperature water is crucial. It activates the yeast effectively, ensuring that your dough rises beautifully and results in a light, airy loaf.
Active Dry Yeast: I prefer using active dry yeast for this recipe as it provides just the right lift. It gives the bread a lovely, airy structure without any fuss.
Bread Flour: The key to that perfect artisan chewy texture lies in the bread flour. Its higher protein content allows for a sturdy dough that achieves that sought-after crumb.
Kosher or Fine Sea Salt: Salt is essential—not just for flavor but also for regulating the yeast’s activity. It helps bring out the best in every ingredient.
Freshly Ground Black Pepper: A dash of black pepper adds a subtle kick that perfectly complements the dill, enhancing the overall flavor profile.
Fresh Dill: I love using fresh dill for its vibrant, aromatic qualities that breathe life into the bread. It gives each bite a burst of herbal freshness.
Gouda Cheese: Incorporating Gouda not only adds a rich, creamy texture but infuses the loaf with delightful flavor, making every slice scrumptious.
Each ingredient plays a pivotal role in crafting this No-Knead Dill Gouda Artisan Bread, ensuring that the final result is nothing short of spectacular.
Why You’ll Love This No-Knead Bread
There’s something truly magical about pulling a loaf of No-Knead Dill Gouda Artisan Bread from the oven, and the aroma wafting through your kitchen instantly creates a cozy atmosphere. Imagine the thrill of serving a freshly baked loaf, warm and crusty, with a golden crust that’s as beautiful as it is delicious. You might just find yourself falling in love with bread-making all over again.
Effortless Preparation
One of the best parts of this recipe is that it requires no kneading. Yes, you heard that right! Simply mix together the ingredients and let time work its magic. The long fermentation allows the flavors to develop beautifully, making it an ideal choice for busy young professionals who still crave home-baked goodness.
Versatile Flavor Profile
The combination of dill and Gouda elevates this artisan bread to another level. Dill adds a refreshing twist, while the cheese brings a rich, nutty flavor. It’s perfect for sandwiches, or you can simply enjoy it with a slather of butter.
Impress Without Stress
Whether you’re serving guests or treating yourself, this No-Knead Dill Gouda Artisan Bread looks like it came straight from a bakery. Its artisanal appearance brings a sense of achievement without the hassle, making it a fantastic addition to any meal. Say goodbye to store-bought bread and hello to the joy of homemade!
Creative Variations of No-Knead Dill Gouda Artisan Bread
Creating your own No-Knead Dill Gouda Artisan Bread opens the door to a world of delicious possibilities. With its inviting aroma and delightful texture, this bread serves as the perfect base to experiment with countless flavors.
Add Fresh Herbs for Extra Flavor
While dill is a fantastic choice, consider mixing in other herbs to enhance the flavor profile. Rosemary or thyme pair beautifully with gouda, adding a warm, aromatic touch. Just a teaspoon or two of these herbs can elevate the sensory experience of your bread.
Spice It Up
Want something with a bit more kick? Adding crushed red pepper flakes or a dash of smoked paprika can create a wonderful contrast. These spices can balance the rich creaminess of the gouda, making every bite an exciting adventure.
Explore Cheese Variety
If you’re feeling adventurous, switching up the cheese is a great idea. Cheddar or feta can bring a different depth of flavor, while keeping the overall recipe intact. Each cheese will contribute its unique character, ensuring you’re never bored.
Incorporate Sweet Elements
For a twist that unexpectedly works, consider adding finely chopped sun-dried tomatoes or even caramelized onions. The sweetness of these ingredients complements the savory elements, resulting in a mouthwatering treat that’s perfect for sharing.
Experimenting with your No-Knead Dill Gouda Artisan Bread can transform a simple recipe into an ever-evolving masterpiece, each batch telling its own delicious story!
Essential Cooking Tips and Notes for No-Knead Bread
Making No-Knead Dill Gouda Artisan Bread captures the essence of simplicity and flavor, allowing you to create a bakery-quality loaf with minimal effort. Here are some essential tips to elevate your bread-making experience.
Perfecting the Dough Hydration
The key to a crusty, artisan-like finish is achieving the right dough hydration. A wetter dough yields an airy, open crumb. Don’t hesitate to add extra water if the mixture seems too dry. Remember, the dough should feel sticky, and that’s perfectly normal!
Embrace the Long Rise
Patience is vital in the world of no-knead bread. Allow your dough to rest for at least 12 to 18 hours in a warm environment. This prolonged fermentation develops flavor and texture that kneading simply can’t replicate. If you can, place your bowl in a draft-free spot for the best results.
Flour Substitutions
While the recipe calls for all-purpose flour, feel free to experiment with other types. Whole wheat flour can offer added nutrition and a nuttier flavor. Just remember, different flours may need slight adjustments in water.
Preheat Your Dutch Oven
Before placing your dough inside, ensure that your Dutch oven is properly preheated. This step is crucial for achieving that coveted crispy crust. A hot pot helps to maintain steam during the initial baking stage, creating a beautifully baked loaf.
Mind Your Herbs and Cheese
When adding dill and Gouda, consider the balance of flavors. Fresh dill provides an aromatic punch, while Gouda adds richness. Shredding cheese ensures it’s evenly distributed throughout the dough, enhancing each bite.
These tips will help you master your No-Knead Dill Gouda Artisan Bread, making your kitchen your new favorite bakery. Happy baking!
Serving Suggestions and Pairing Ideas for No-Knead Bread
Elevating your No-Knead Dill Gouda Artisan Bread experience goes beyond just savoring the bread itself—it’s about how you serve it and what you pair with it. Imagine a cozy gathering where your freshly baked bread becomes the centerpiece, delighting taste buds and warming hearts.
Perfect Dipping Companions
- Olive Oil and Balsamic Vinegar: A simple yet elegant dip that enhances the rich flavors of the Gouda. Mixing quality olive oil with a splash of balsamic offers a bright contrast.
- Garlic Butter: Melt some butter with minced garlic and fresh herbs for a warm, aromatic spread that begs to be slathered on your bread.
Savory Spreads and Toppings
- Herbed Cream Cheese: Whip up some cream cheese blended with fresh dill and chives to further enhance the dill profile. This creates a luscious, creamy layer atop your slices.
- Charcuterie Boards: Incorporate your No-Knead Dill Gouda Artisan Bread into a charcuterie spread with assorted cheeses, cured meats, and olives. The interplay of flavors makes for an unforgettable appetizer.
Perfectly Paired Pairings
- Soups and Stews: Imagine your warm bread serving as a vessel for hearty soups, such as a classic tomato basil or a comforting potato leek.
- Wine Choices: A crisp white wine like Sauvignon Blanc or a light-bodied red, such as Pinot Noir, pairs beautifully with the creamy Gouda, enhancing your dining experience.
With these serving suggestions and pairing ideas, your No-Knead Dill Gouda Artisan Bread is set to impress at any occasion, making it not just a dish, but a flavorful journey.
Time Breakdown for Making No-Knead Dill Gouda Artisan Bread
Creating the perfect loaf of No-Knead Dill Gouda Artisan Bread requires a little patience and a good understanding of the time involved. Let’s break down the preparation, rising, and baking times to help you plan your baking session seamlessly.
Preparation Time
Setting the stage for your bread takes approximately 15 minutes. This includes gathering your ingredients, mixing the dough, and incorporating the delightful dill and Gouda cheese.
Rising Time
The true magic happens during the rising stage, which lasts about 12 to 18 hours. It might seem like a long wait, but trust me, it’s worth every moment as this slow fermentation enhances the flavor and texture.
Baking Time
When it’s finally time to bake, expect about 30 to 40 minutes in the oven. You’ll want to keep an eye on your dough as it transforms into a golden-brown delight.
Total Time
All together, you’re looking at roughly 13 to 19 hours from start to finish. With just 15 active minutes on your part, you’ll have a stunning loaf of No-Knead Dill Gouda Artisan Bread that’s bound to impress!
Nutritional Facts for No-Knead Dill Gouda Artisan Bread
When you indulge in No-Knead Dill Gouda Artisan Bread, you’re not just enjoying its delightful flavor; you’re also treating your body to some key nutrients.
Calories
One slice of this artisan bread is approximately 180 calories. This makes it a satisfying addition to your meal without sending your calorie count into a tailspin.
Protein
Packed with around 6 grams of protein per serving, this bread offers a nourishing boost, making it an excellent companion for soups or salads.
Sodium
With about 250 milligrams of sodium per slice, the No-Knead Dill Gouda Artisan Bread strikes a balance between flavor and health, ensuring you can enjoy each bite without the worry of excessive salt.
This bread isn’t just a tasty treat; it’s a wholesome choice that complements a variety of diets and lifestyles. Enjoy it in moderation, and you’re good to go!
Frequently Asked Questions about No-Knead Dill Gouda Artisan Bread
When you dive into the delicious world of No-Knead Dill Gouda Artisan Bread, you’ll often find yourself curious about some details. Here’s a friendly guide to help you navigate those common questions.
Can I use other cheeses in this recipe?
Absolutely! While Gouda offers a creamy, rich flavor that pairs beautifully with dill, feel free to experiment with other cheeses. Cheddar, Havarti, or even a sharp Parmesan can serve as tasty substitutes. Just keep in mind that the flavor profile will change slightly, so choose a cheese that complements dill’s herbaceousness.
How do I store leftover artisan bread?
Storing your freshly baked No-Knead Dill Gouda Artisan Bread properly can keep it delicious for days. To maintain its crusty exterior, wrap the bread in parchment paper and place it in a paper bag. For longer storage, consider slicing the bread and freezing it in an airtight container. When you’re ready to enjoy it again, just pop a slice in the toaster—just like fresh!
What if I don’t have fresh dill?
If fresh dill isn’t available, dried dill is a fantastic alternative. Use about one tablespoon of dried dill for every three tablespoons of fresh. While the flavor may differ somewhat, it will still provide that delightful herbaceous note you crave in No-Knead Dill Gouda Artisan Bread. You could also try other herbs like basil or thyme for a different spin!
Whether you’re a seasoned baker or a curious first-timer, I hope these answers guide you in creating this wonderful bread! Happy baking!
Conclusion on No-Knead Dill Gouda Artisan Bread
Baking the No-Knead Dill Gouda Artisan Bread is more than just following a recipe; it’s a delightful journey filled with aromatic flavors and satisfying textures. You’ll find that this bread not only complements your meals but can also stand alone as a delicious snack. With its effortless preparation and minimal ingredients, it’s perfect for busy professionals who crave quality homemade bread. Whether you choose to enjoy it fresh out of the oven or toast it the next day, each bite embodies the essence of comfort and warmth. Embrace this easy method, and let your kitchen become the heart of your home with this beautiful bread!
Print
Gouda Cheese Bread
- Total Time: 10 hours 45 minutes
- Yield: 1 loaf 1x
Description
This Gouda cheese bread is a deliciously soft, flavorful loaf perfect for sandwiches or as a side.
Ingredients
Scale
- 1½ cups water, room temperature (at or near 70°F/21°C)
- 1 teaspoon active dry yeast
- 3½ cups bread flour, plus more for dusting
- 1 teaspoon kosher or fine sea salt
- ½ teaspoon freshly ground black pepper
- 2 tablespoons fresh dill, finely chopped
- 1 cup cubed Gouda cheese
Instructions
- Add the yeast to the water and let it sit for 10-15 minutes.
- In a large bowl, whisk together flour, salt, pepper, and fresh dill until evenly distributed. Let sit for 10 minutes.
- Add yeast mixture to the bowl and stir together using a rubber spatula just until combined.
- Cover and let rise somewhere warm until it has doubled in size, about 8-10 hours.
- Once the dough has doubled, pull it out onto a floured surface.
- Gently fold the dough into itself several times until it holds together, then stretch and smooth it into a rectangular shape and press Gouda cubes into the dough.
- Roll up the dough into a log shape, fold the ends underneath, and shape into a ball.
- Dust with flour, cover, and refrigerate overnight.
- Preheat the oven to 450ºF (232ºC) with your Dutch oven inside.
- Turn the dough out onto a floured surface seam side down, shape into a loaf, and place it on parchment paper.
- Score the top of the loaf with a razor blade or sharp knife.
- Remove the Dutch oven, transfer the dough with parchment into it, cover, and bake for 30 minutes.
- Remove the cover and bake for an additional 15-20 minutes until browned.
- Lift the bread from the Dutch oven using parchment and transfer it to a wire cooling rack to cool for up to an hour before slicing.
Notes
- This bread is best enjoyed fresh but can be stored in an airtight container for a few days.
- Make sure the water is not too hot when activating the yeast, as it can kill the yeast.
- Prep Time: 10 hours
- Cook Time: 45 minutes
- Category: Bread
- Method: Baking
- Cuisine: American
Nutrition
- Serving Size: 1 slice